There’s something deeply unsettling—and wildly captivating—about an eerie, AI-generated video that feels like it slipped out of a nightmare. Liminal spaces, ghostly figures, abandoned locations… these visuals tap into our fascination with the unknown and the uncanny.
If you’ve been scrolling through TikTok, YouTube Shorts, or Reels lately, you’ve probably noticed: creepy AI videos are everywhere—and some are racking up thousands, even millions, of views.
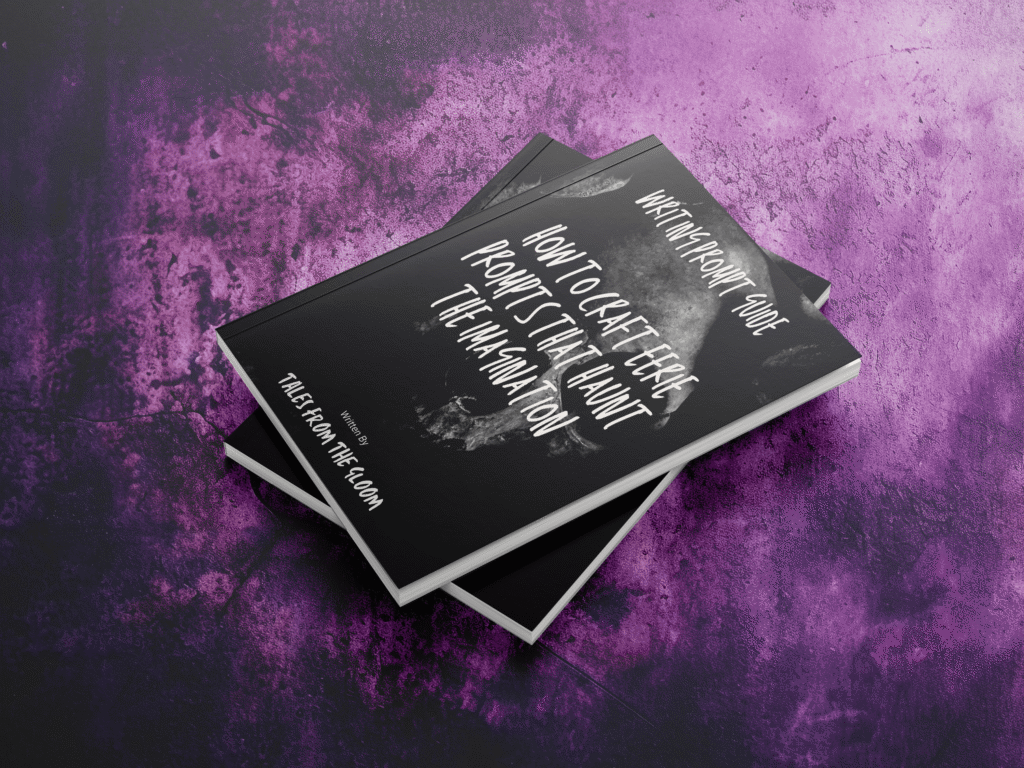
In this guide, I’ll show you how to create haunting AI-generated videos that can stop viewers in their tracks and help your content go viral. I’ll break down the tools, prompts, and editing tips that will bring your haunted visions to life—and I’ll even share resources that can make the process easier, including my exclusive Tales From The Gloom prompt packs.
1. Choose the Right AI Tools
The first step is finding AI platforms that can create the kind of eerie atmosphere you want.
- Sora (or your preferred AI video tool): Perfect for generating unsettling moving images like flickering lights, shifting shadows, and endless hallways.
- Midjourney or DALL-E: Great for creating stills that you can animate later with video editors.
- Runway ML: Useful for adding AI effects or combining clips.
💡 Tip: If you’re working with detailed AI outputs, tools like a graphics tablet or a high-res monitor can help you refine your creations.
2. Craft Prompts That Give Viewers Chills
Your prompt is the blueprint of your haunted scene. The more vivid and eerie your description, the more unsettling the result.
👉 Here’s a basic formula:
Setting + unsettling detail + mood element + optional sensory detail
For example:
“An empty school hallway at dusk, lockers slightly ajar, dim emergency lighting, faint echo of footsteps.”
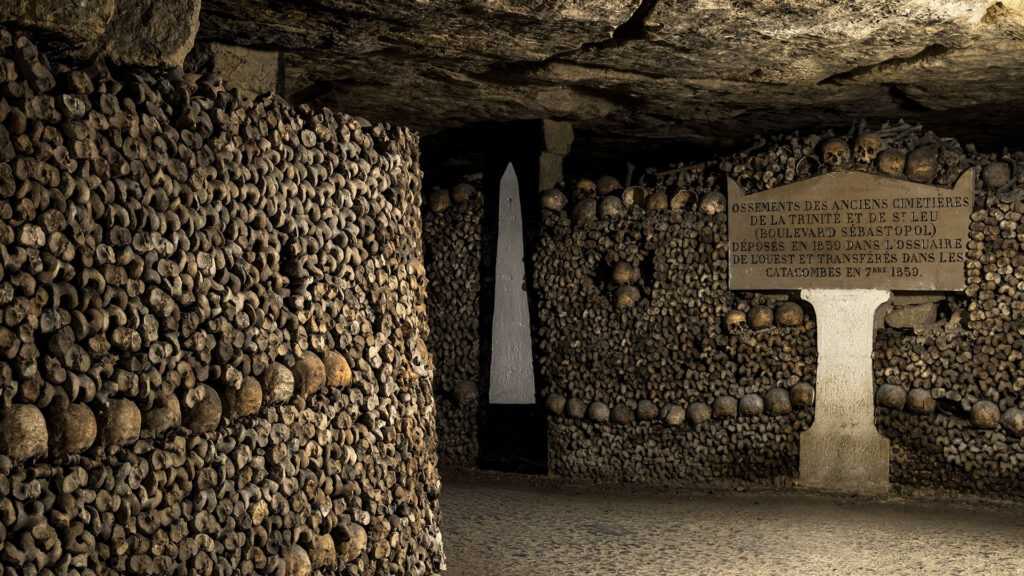
If you want to skip the trial and error, check out my Liminal Spaces Generator or Haunted Locations Prompt Pack—each filled with ready-made prompts designed to create haunting AI scenes with ease.
3. Edit for Maximum Creep Factor
Once you have your visuals, editing helps push them over the edge from cool to truly creepy.
✅ Use video editors like CapCut (free and beginner-friendly) or Adobe Premiere Pro (for more control).
✅ Add ambient sound: faint whispers, wind, distant thuds. You can find great royalty-free sound packs (affiliate link).
✅ Subtle effects like grain, flicker, or slow zooms can enhance the unease.
4. Structure Your Videos for Virality
It’s not just what you create—it’s how you present it.
- Keep it short and punchy: 30-60 seconds works best for TikTok, Reels, and Shorts.
- Hook your viewer in the first 2 seconds: Start with your creepiest visual.
- Add on-screen text that deepens the mystery. For example: “This place wasn’t in the blueprints… but I found it.”
“Would you dare explore this hallway?”
5. Upgrade Your Gear (Optional, But Powerful)
If you’re ready to take your creations further, the right gear can make a huge difference:
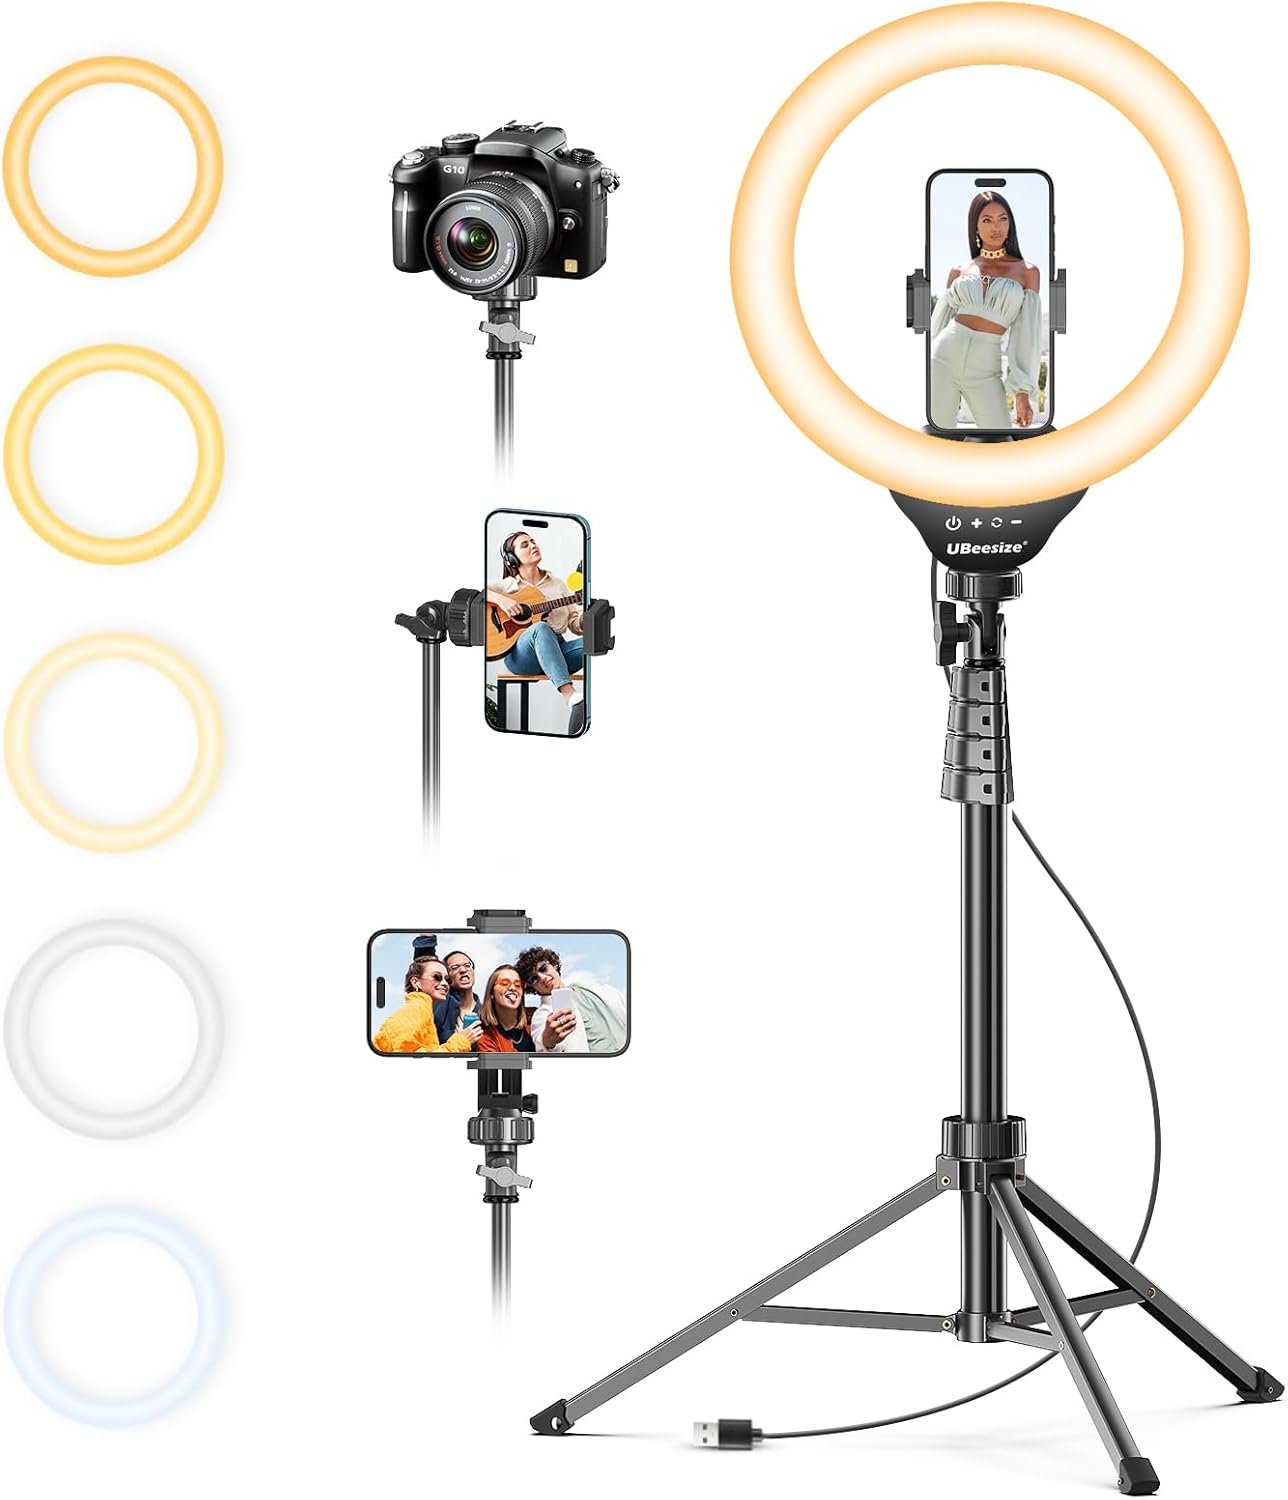
- Ring lights: For moody lighting when adding live footage.
- Microphones: For recording chilling voiceovers.
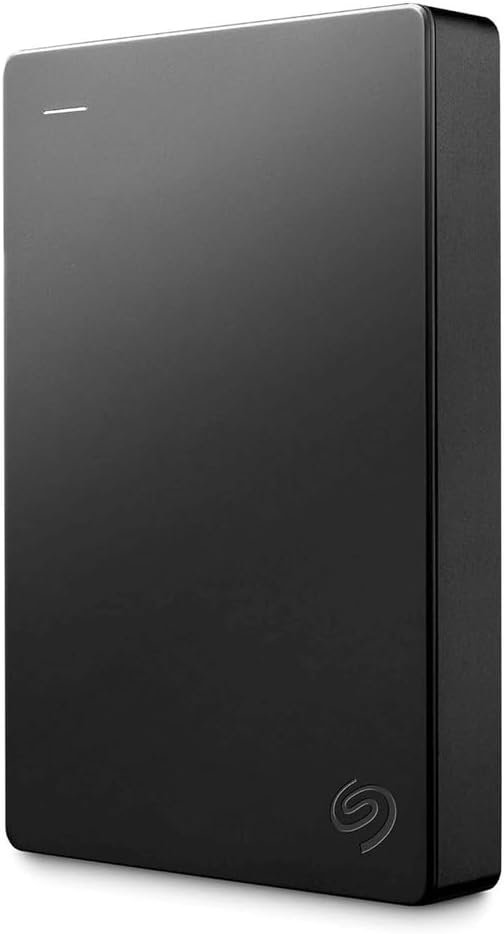
- External drives: AI video files can get big—keep them safe and organized.
- Stylus + tablets: Perfect for refining frames or adding hand-drawn creepy details.
Final Thoughts: Create, Share, Haunt
The world of AI-generated horror content is just beginning—and now’s your chance to make your mark. With the right tools, prompts, and presentation, your haunted videos could be the next to go viral.
Ready to start?
👉 Explore our AI prompt packs to bring your creepiest visions to life
Happy haunting—and tag me if your creation goes viral! I’d love to see it.