(+ Tools, Prompts, and Gear to Bring Your Nightmares to Life)
There’s something uniquely chilling about a well-crafted, AI-generated horror video. These short, eerie clips—of flickering hallways, echoing pool rooms, and uncanny ghost figures—feel like fragments from someone else’s dream… or nightmare. And they’re everywhere right now.
On TikTok, YouTube Shorts, and Reels, creators are using AI to conjure liminal spaces, haunted environments, and surreal encounters that linger in your mind long after the clip ends. It’s not just a trend—it’s a new wave of horror storytelling that blends visual unease with viral hooks.
In this guide, I’ll walk you through how to make your own hypnotic horror videos using AI tools, prompt packs, and affordable gear. Whether you want to build dreamlike loops, glitchcore nightmares, or slow-burn spectral scenes, this post will give you everything you need to get started—and get noticed.
1. Start With the Right Prompt
Every haunting video begins with a solid prompt. Think of it like writing the seed of a nightmare—what scene does your AI need to dream up? The more precise, textured, and subtly wrong your description is, the more chilling your results will be.
Prompts are where atmosphere starts. Blend sensory detail, location, and something just off. Ask yourself: What would make someone watching pause mid-scroll… then send the clip to a friend at 2am?
🔮 Example prompts to inspire you:
- “Abandoned indoor pool with flickering overhead lights, water still, no reflections, soft child’s laughter.”
- “Flickering CRT monitor in a dark room, ghostly face appears for a single frame.”
- “Endless hallway, walls pulsing like flesh, security camera footage grain.”
Don’t be afraid to get weird—liminal horror thrives on ambiguity and discomfort. Silence. Echoes. Loops. Glitches. Try combining mundane settings with one deeply unnatural detail.
🧠 Need a shortcut? Use these to jumpstart your nightmare:
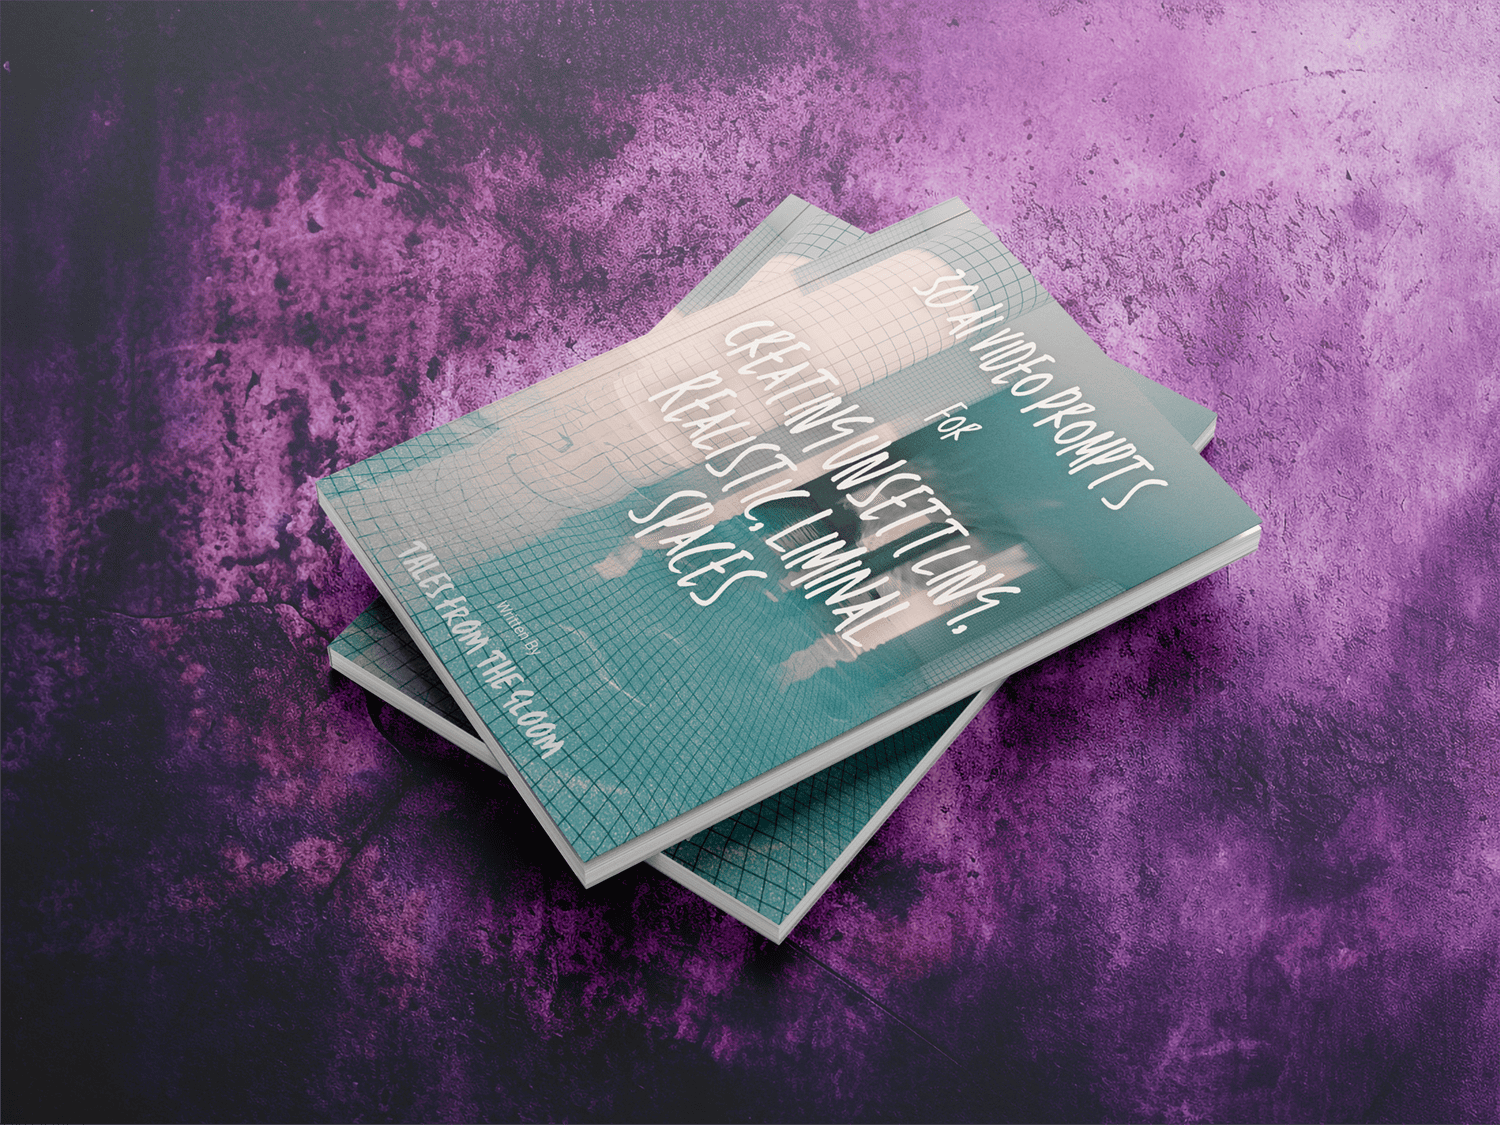
- Liminal Spaces Generator — Craft endless pool rooms, eerie backrooms, and unsettling dream-like spaces
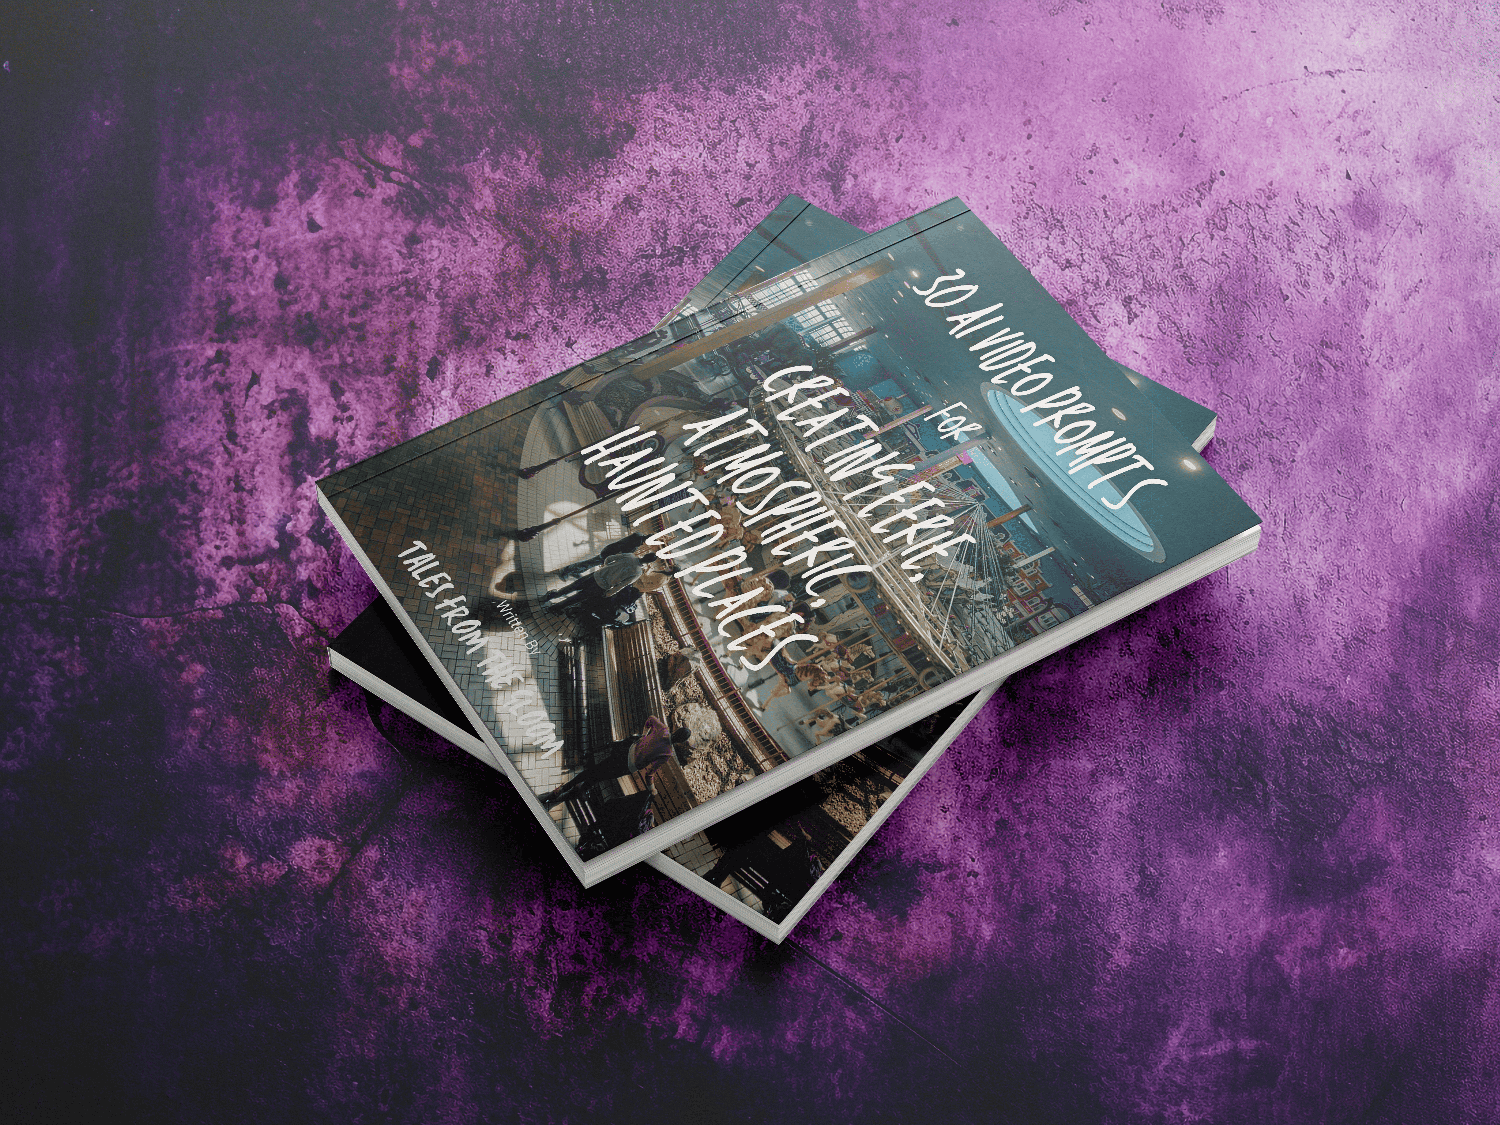
- Haunted Locations Prompt Pack — Set the scene with haunted hotels, cursed houses, and forgotten facilities
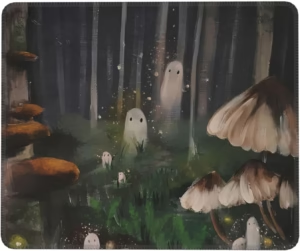
- Ghostly Character Designer —Create a believable phantom to inhabit your visuals
These plug-and-play tools help eliminate creative block and let you focus on building the dread.

2. Choose the Right AI Tools
Once your eerie prompt is locked in, it’s time to bring the nightmare to life. Each AI platform has its strengths—some are better for dreamlike videos, others for crafting perfect stills or adding unsettling effects.
Here’s a breakdown of tools that’ll help you build visual horror scenes that feel alive (or undead):
✅ Sora — Best for turning prompts into short, cinematic video clips. Use it for slow pans, unsettling zooms, or looping ambient scenes. Perfect for dreamlike sequences and moody transitions.
✅ Midjourney — Ideal for highly detailed still frames. Create the key visual moments—your hallway, your haunted pool, your ghost’s silhouette. You can animate these later, or use them as thumbnails or transitions.
✅ Runway ML — Adds the texture of fear. Apply effects like flicker, VHS grain, static, or even eerie motion blur. Especially powerful when combined with Midjourney stills or footage from Sora.
✅ Kaiber — Your go-to for animating still images. Add slow movement, parallax depth, or zoom effects to Midjourney images to breathe motion into your ghostly creations.
🎬 Pro tip: Experiment with combining tools. For example: generate a Midjourney image → animate it in Kaiber → add effects in Runway → loop it for TikTok.
The tools are there to make your story visual—and visceral.
3. Edit Like a Horror Director
You’ve got your chilling visuals—now it’s time to direct the fear. Editing is where atmosphere takes shape. Even a simple AI clip can become truly haunting with the right pacing, sound, and subtle effects.
🎬 Choose your editing software:
- CapCut — Perfect for beginners and mobile creators. It’s fast, free, and packed with transitions, effects, and easy-to-add audio layers. Great for TikTok, Reels, and Shorts.
- Adobe Premiere Pro — Industry-standard editing for those who want precision. Layer multiple clips, blend in custom audio, mask out ghostly shapes, or fine-tune your pacing down to the frame.
🔊 Sound design is half the scare:
- Use royalty-free horror sound packs with static, footsteps, doors creaking, breathing, or distorted voices.
- Layer ambient tones—like low rumbles or reversed wind—to create tension.
- Echoing whispers or AI-generated voices (from ElevenLabs, for example) add a terrifying human touch.
🖤 Quick cuts or single-frame ghost flashes for jumpy tension.
- Glitch overlays and analog static to create a corrupted reality feel.
- Soft camera pans to slowly reveal details or build unease.
- Quick cuts or single-frame ghost flashes for jumpy tension.
🎬 Pro tip: Don’t over-edit. One eerie sound or flicker at the right moment can hit harder than a dozen effects. Think slow-burn, not sensory overload.
4. Use Gear That Levels You Up
Creating haunting AI-generated videos isn’t just about creativity—it’s also about having the right tools to make the process smoother, faster, and more fun.
🖥️ ASUS RTX 3050 GPU (Graphics Card) — Handles AI rendering, animation, and editing without glitching or lag. Essential for Midjourney upscaling and video tools like Sora or Runway ML.
🖊️ XP-Pen Drawing Tablets — Great for adding hand-drawn overlays, subtle distortions, or sketching eerie frames. It’s like directing your own digital nightmare.
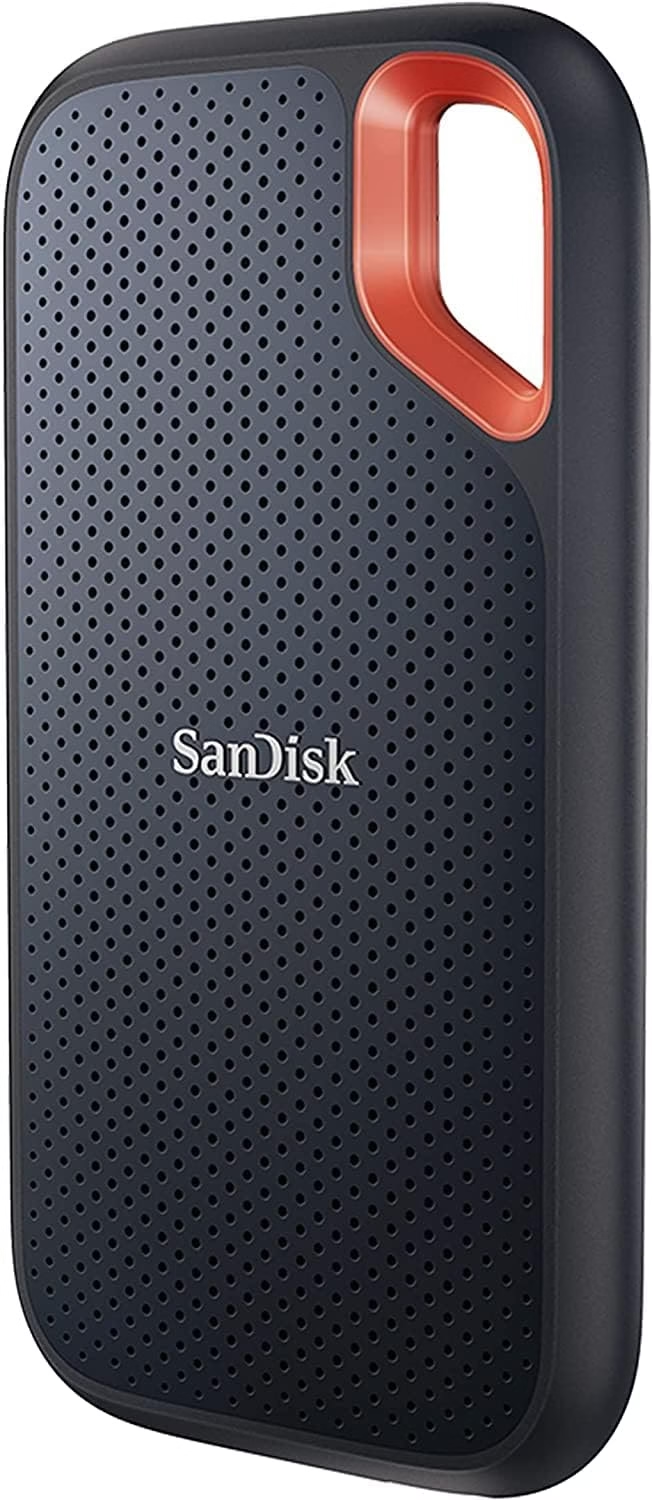
🧠 SanDisk 1 TB External SSD — AI-generated content is heavy. This keeps your files fast, portable, and backed up—without choking your main drive.
🎨 Style Your Workspace for Vibes & Reels:
- RGB lighting – Shift between glitchy reds, sickly greens, or deep blues to mimic horror lighting.
- Skull desk accessories – Great for content backgrounds, stream decor, or just feeding your inner gremlin.
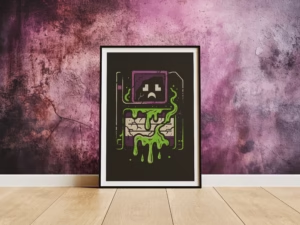
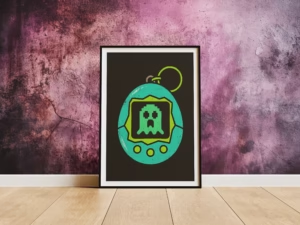
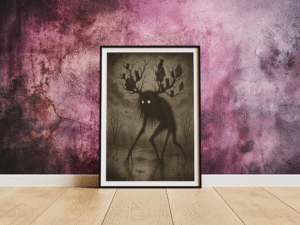
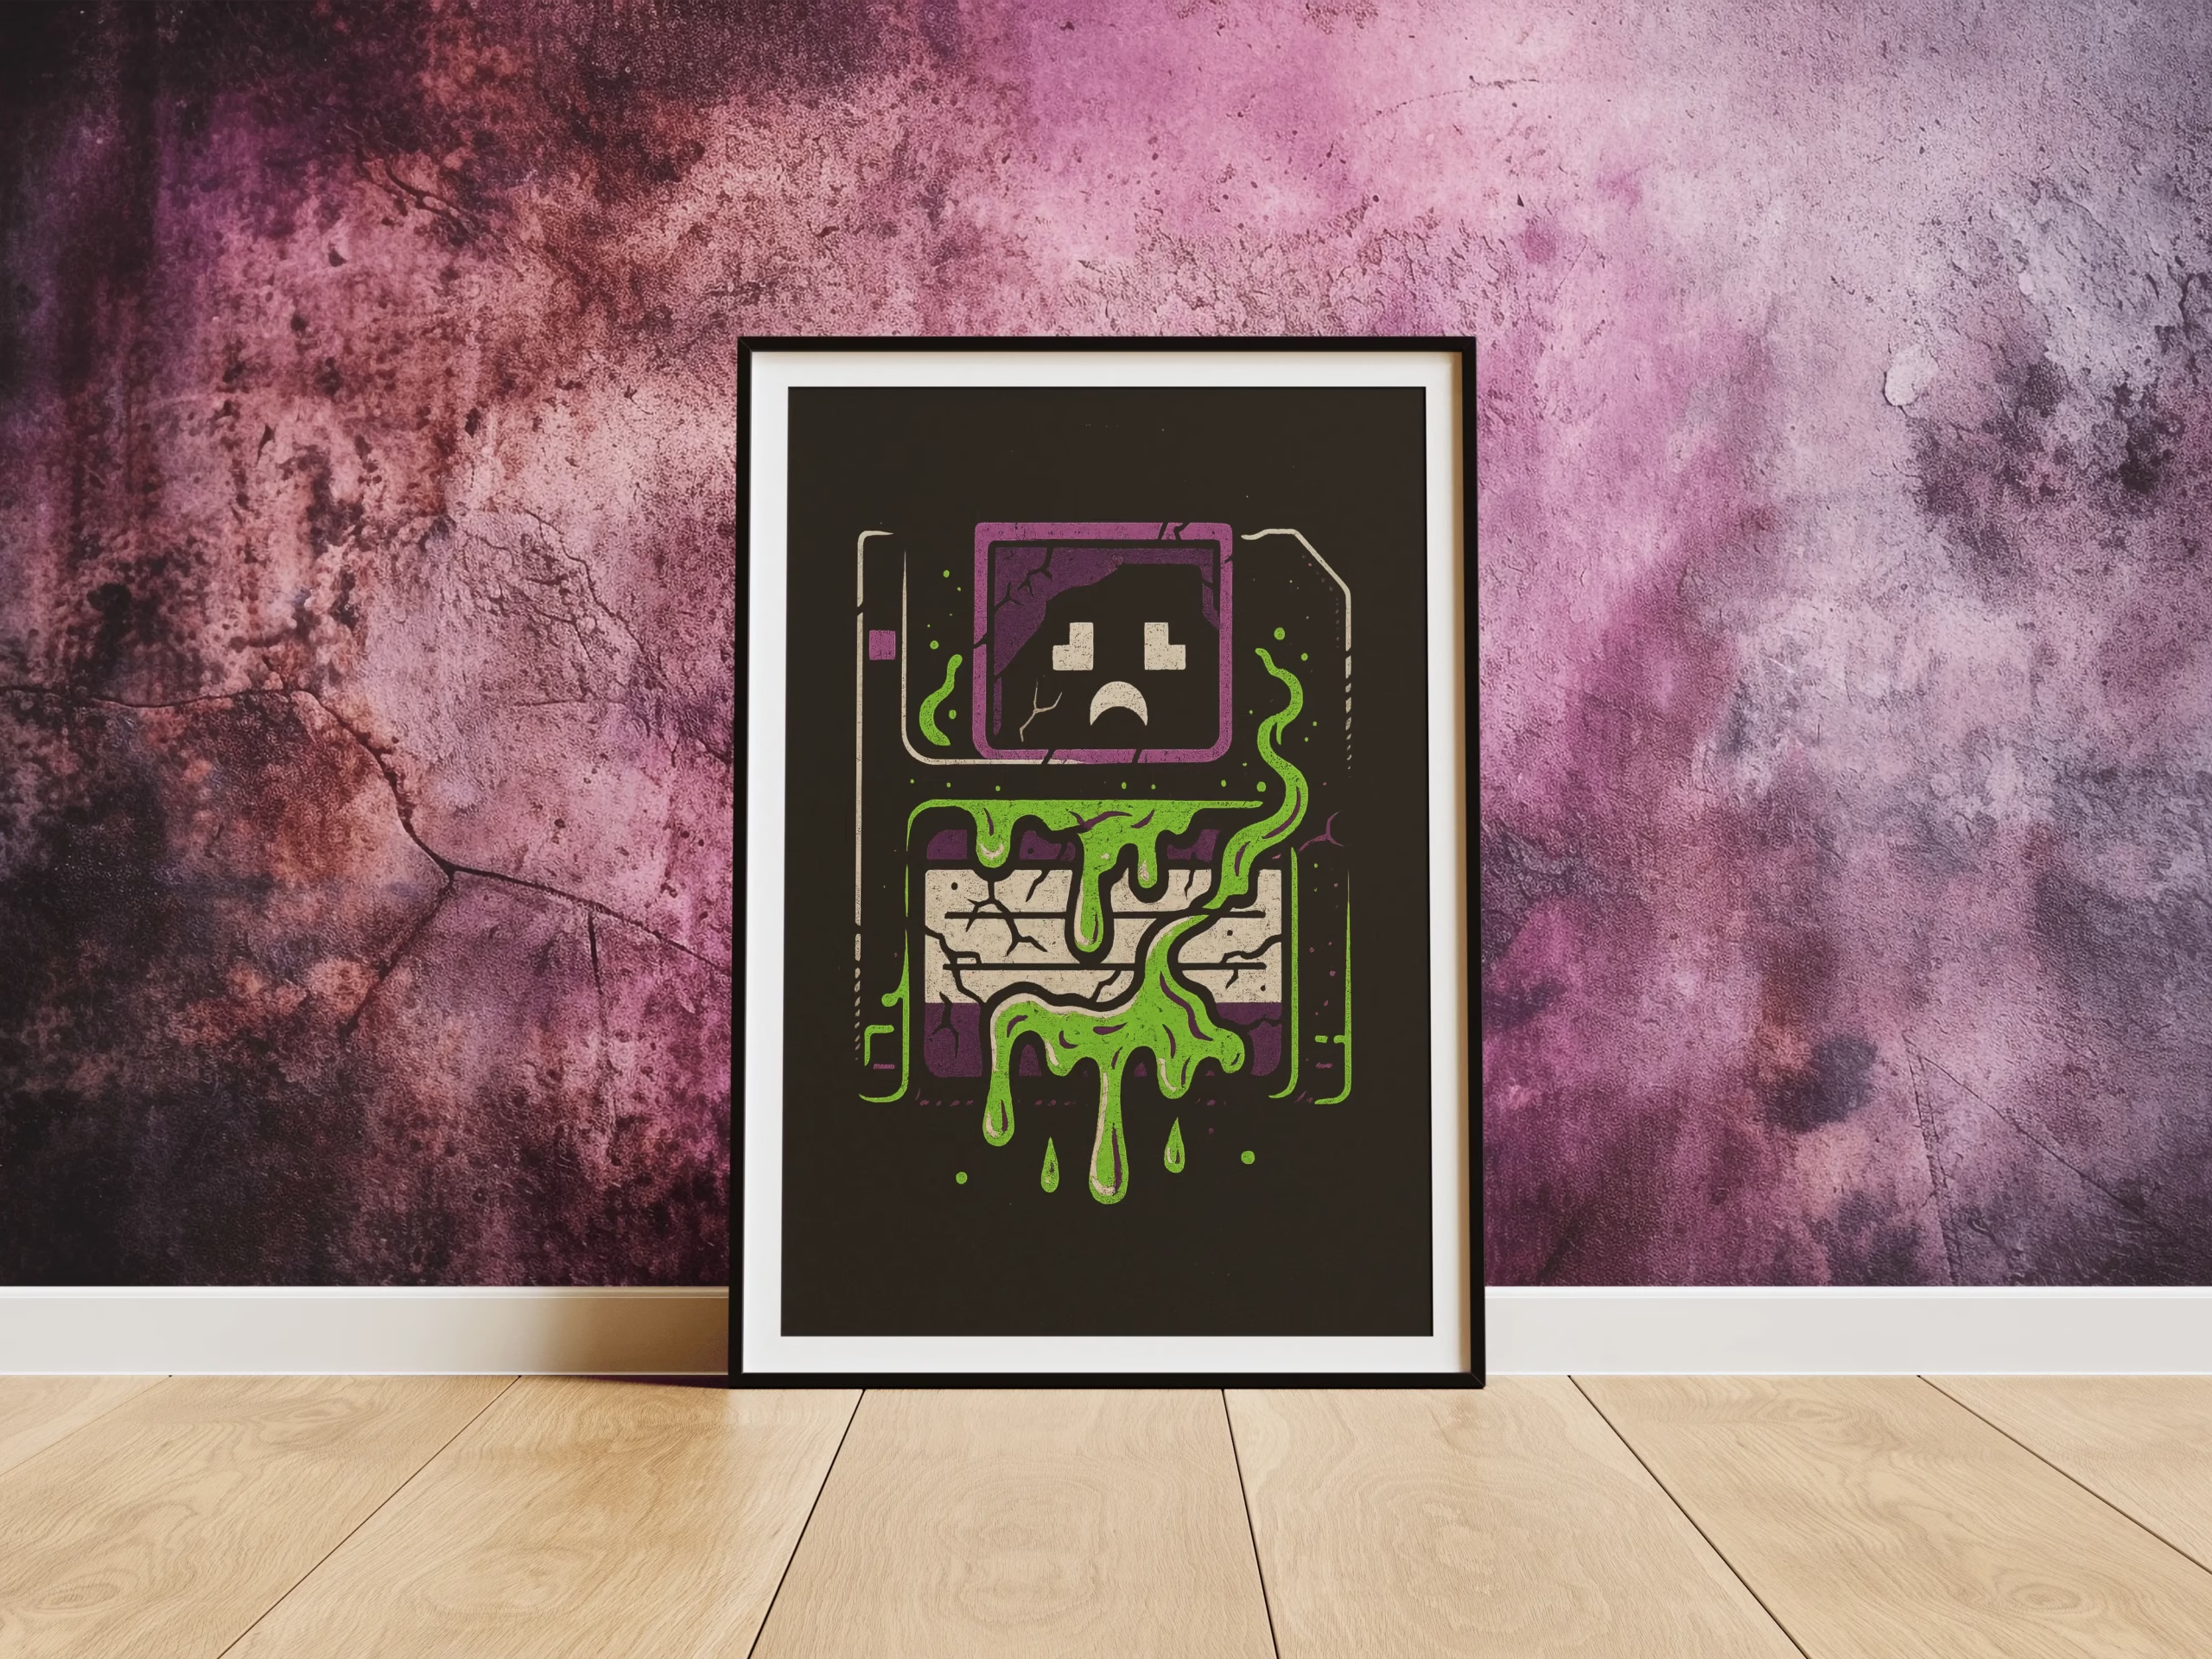
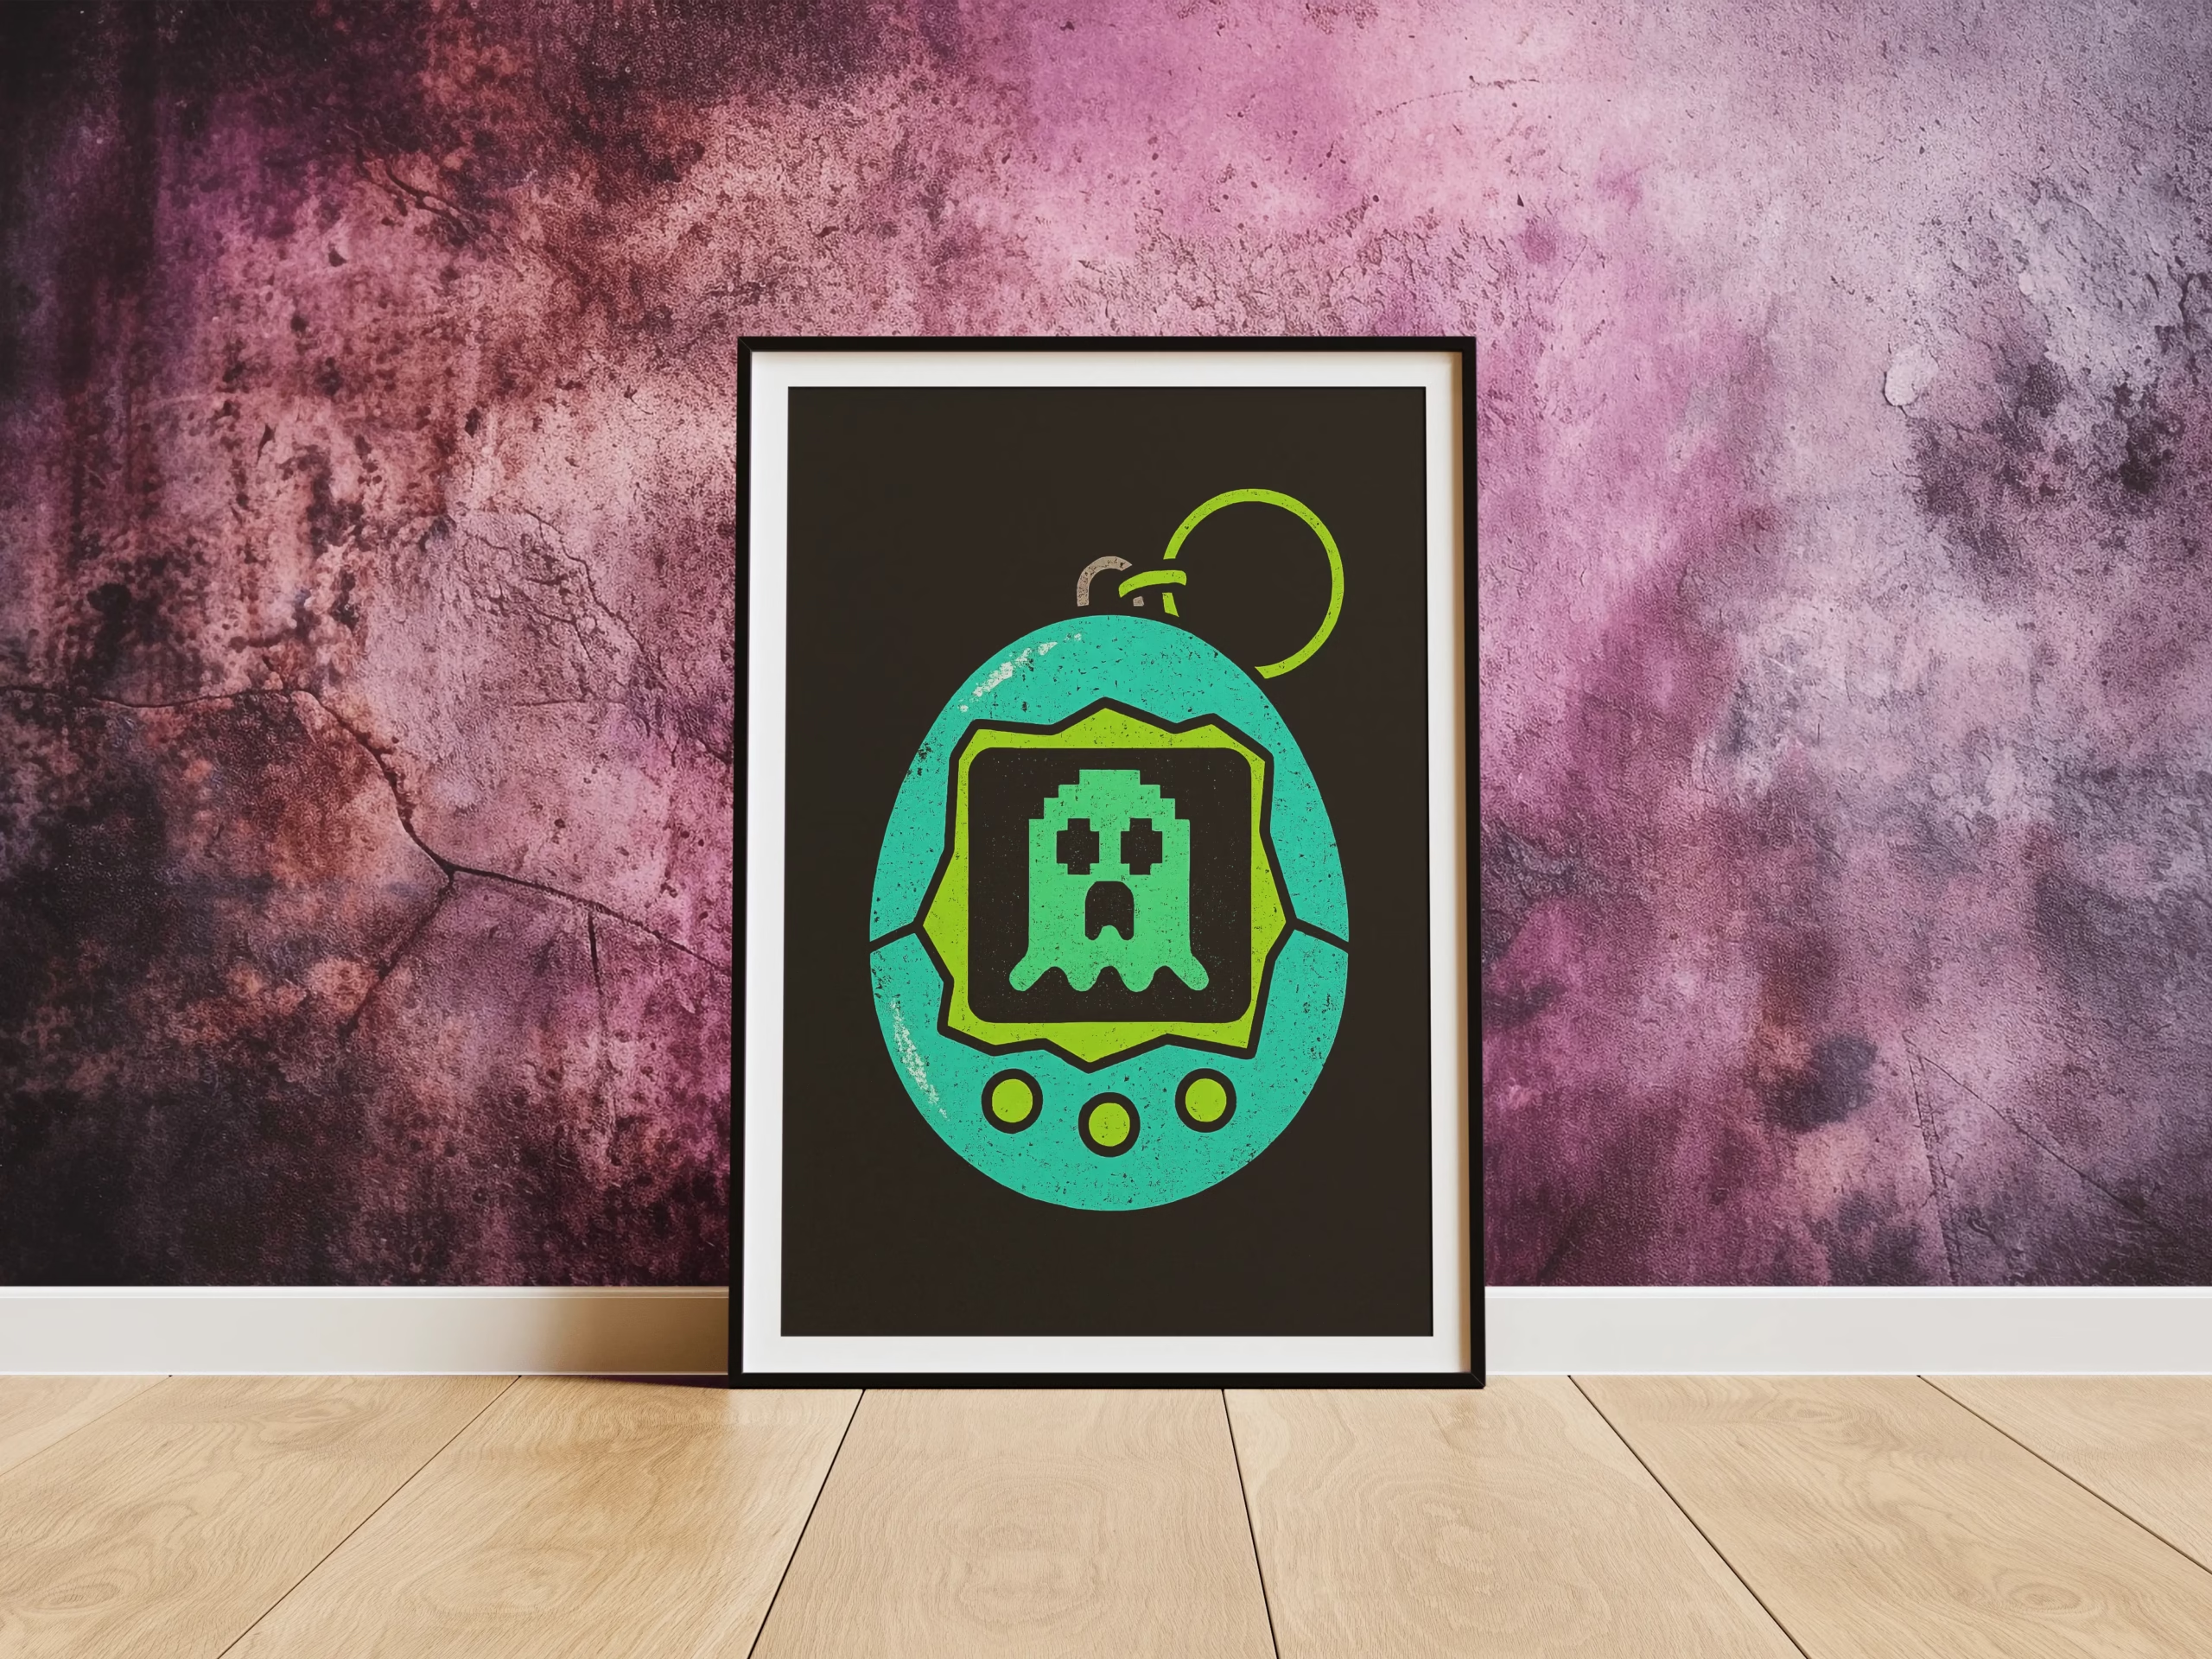
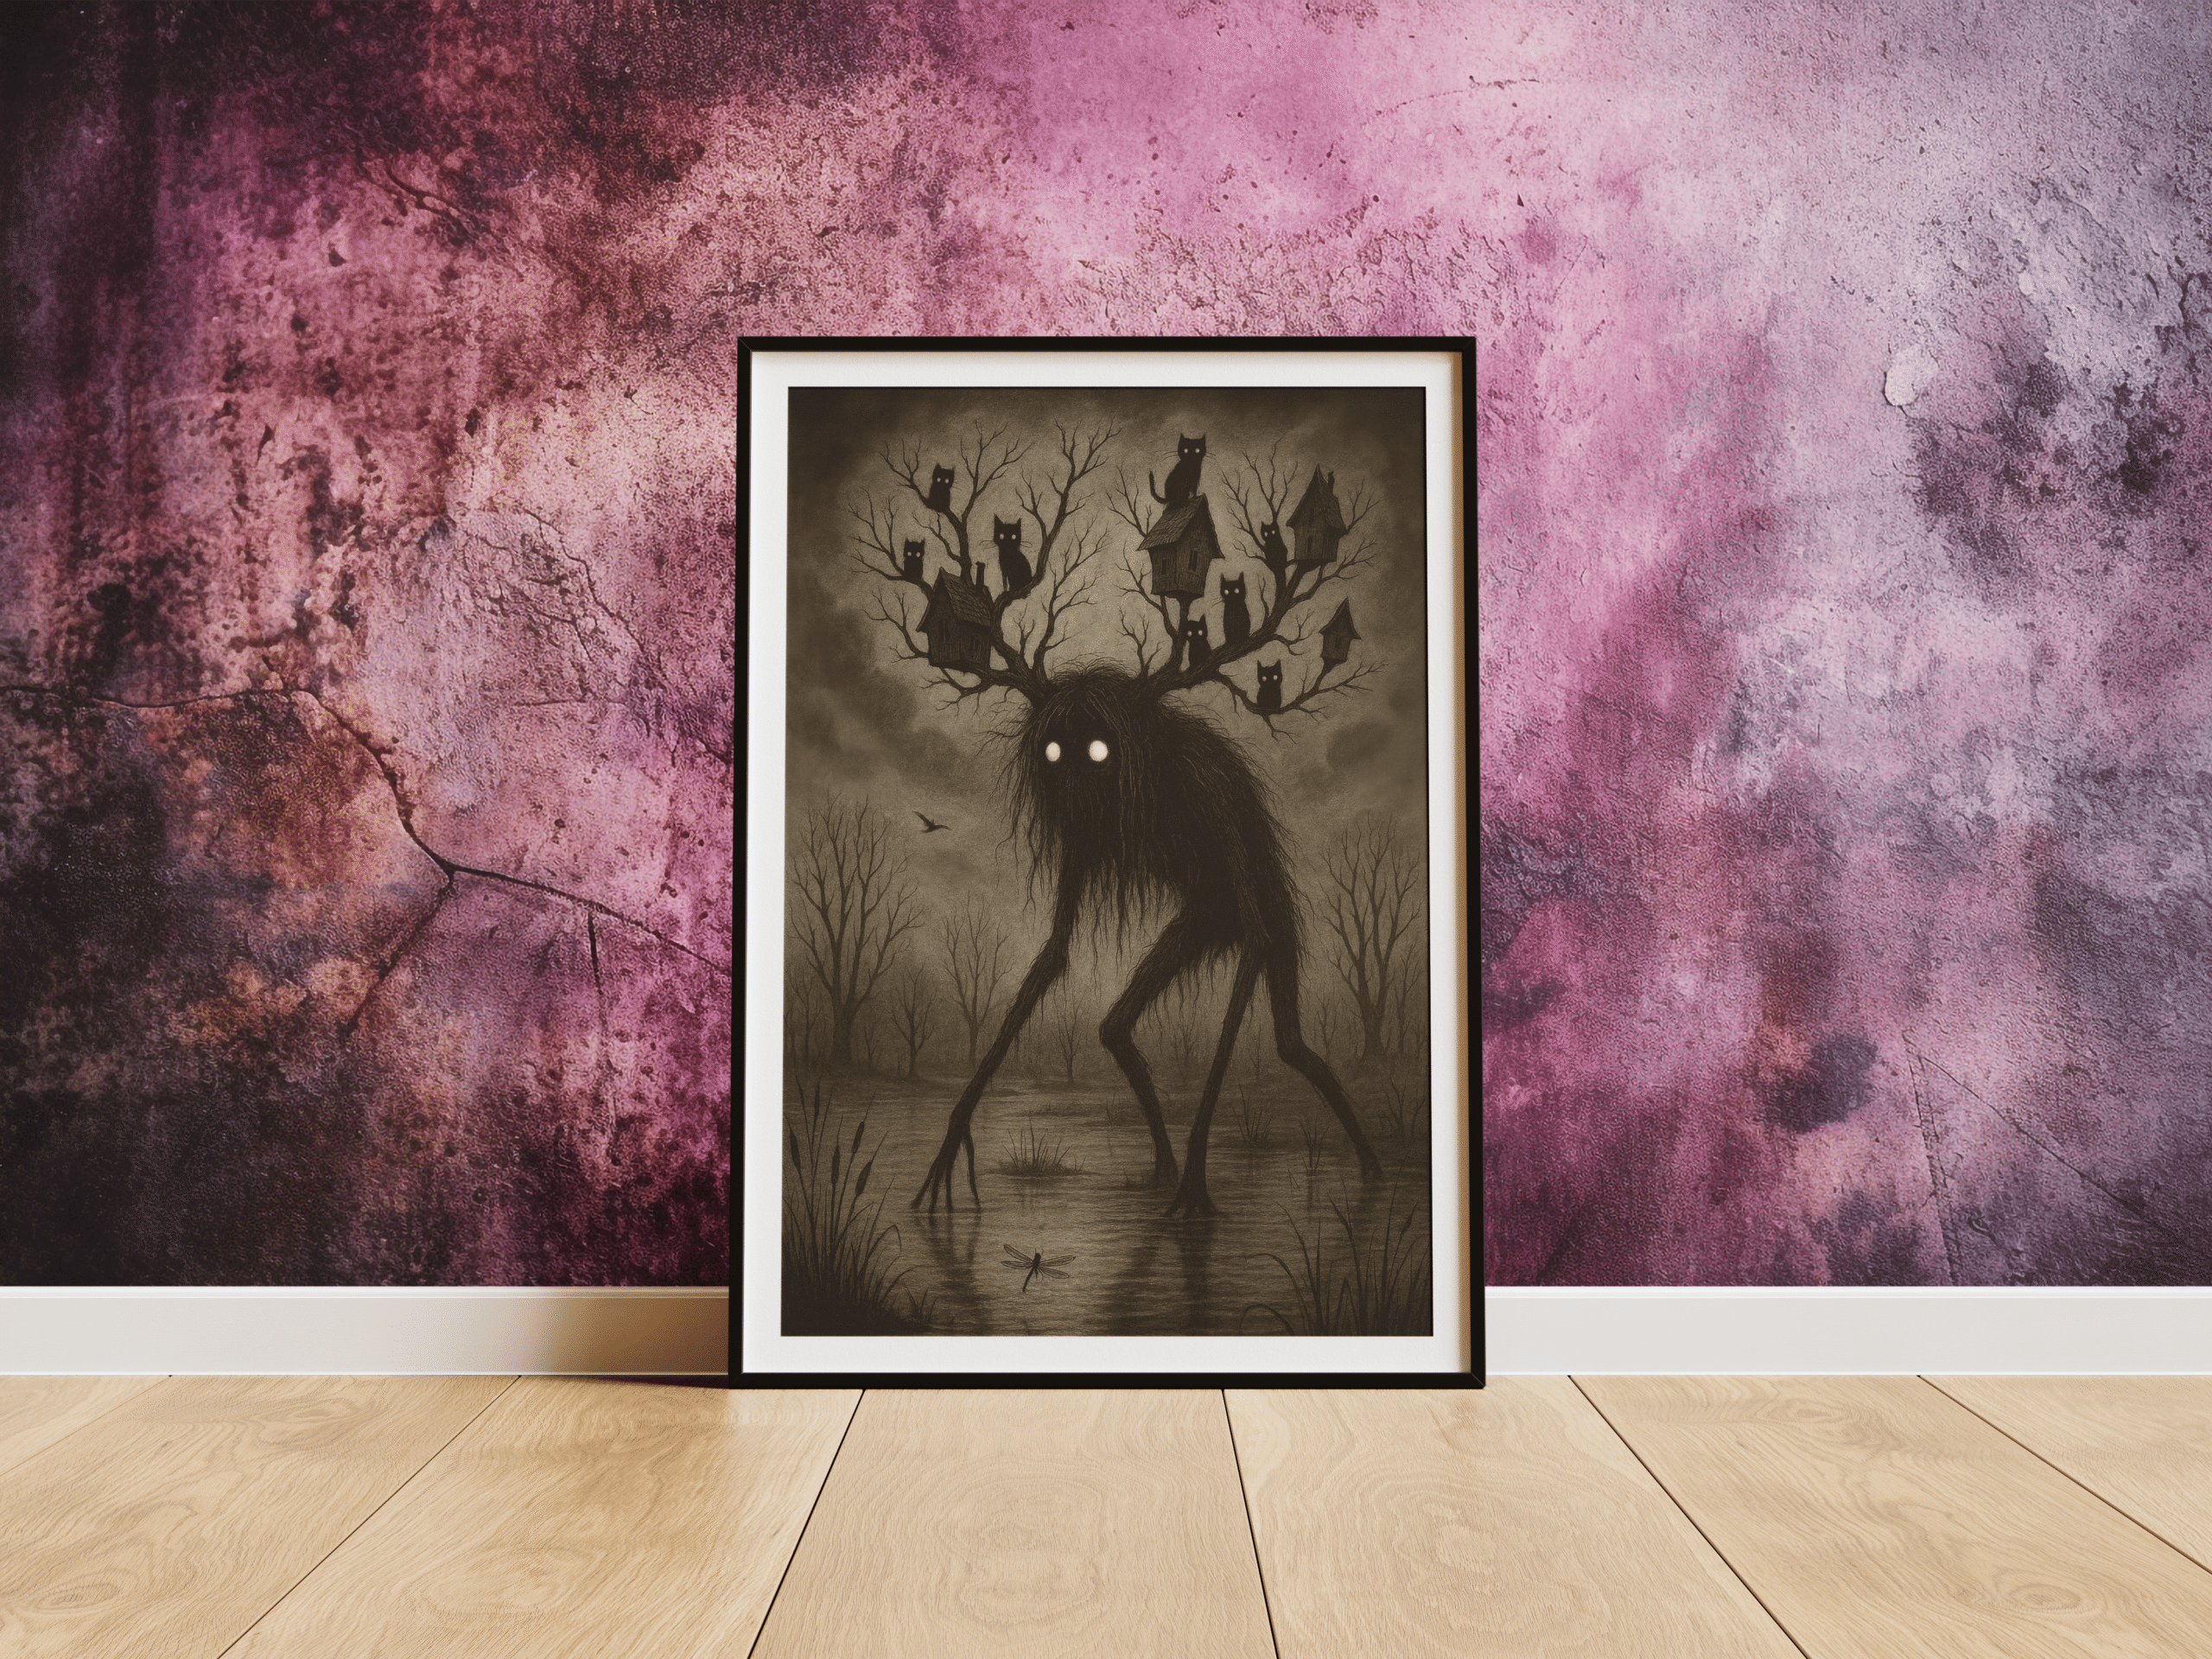
- Haunted mousepads + prints from my shop – Grab eerie artwork and accessories from my shop to keep your space inspired and spooky.


5. Structure for Virality
Creepy visuals get attention. But hooked viewers? That’s storytelling.
If you want your AI-generated horror video to go viral, structure it like a nightmare someone can’t scroll away from:
🔥 Tips for Maximum Impact:
- Start strong — Open with movement, flickering lights, or a chilling stillness. Make them feel something in the first 2 seconds.
- Add overlay text to spark curiosity or dread: “This AI-generated place doesn’t exist… but I’ve seen it.” “The prompt was simple. The result? Terrifying.”
- Keep it short — 15–30 seconds is ideal for TikTok, Reels, and Shorts.
- Loop it cleanly — End where you began. Glitch transitions or slow pans make this seamless—and addictive to rewatch.
- Use trending audio or ambient horror sounds — Think: reversed lullabies, static, low drones, or distant whispers. Set the mood through sound as much as visuals.
Final Thoughts: Haunt the Feed
AI-generated horror isn’t just about creepy visuals—it’s about crafting moments that linger. The kind of videos that make people pause, replay, and wonder if what they saw was real.
With the right prompts, creative tools, and atmosphere-setting gear, you can build bite-sized nightmares that haunt the algorithm—and your audience.
👉 Explore all my AI prompt packs for instant inspiration
👉 Ready-made horror merch + gear in my shop to complete the vibe
Now go create something the internet won’t forget. 👁️🕯️